
Charles Worrall had an interesting proposal to which he documents my whole design process, which was what his project was, and thus I would have access to these images to show the process from a third person point of view.
All of the images in this post are curtesy of Mr. Worrall.
Casting Model prep:
To begin with, the letters needed to be altered so that the proportions would be correct, this was done on adobe illustrator, simply to make them a bit weightier, or bolder if you will, further improving the impact of which they imposed, perfectly representing Brutalist architecture;


Then laser cutting the letters out of MDF, repeating each one five times due to the strength of the laser;


Once all letters were cut, this then led on to the glueing of the individual layers to make one chunkier letter;


After 24 hours, the PVA will be fully cured and the letters could then be removed from the clamps, filed and sanded down to remove the ridges and excess glue, using a disc sanding machine to sand the edges made life a little easier, however the insides of some needed to be hand sanded or sanded using the bobbing sander;


Once the finish was sufficiently smooth, the MDF needed to be sealed to ensure the material used to create the moulds does not stick to the wood and therefore ruin the mould. This was done by french polishing, also known as shellacking;


After this step, the MDF moulds could be attached to a base, which then has a surround to hold the melted moulding liquid/rubber, otherwise known as 'Vinamold', this material could be chopped down and melted using a heating pot and is reusable, these particular examples meant a lot of moulding material needed to be used, this meant having to do a couple of letters at a time, greatly expanding the amount of time this project required;


The Vinamold is then poured straight into the 'well' created by the cardboard and clay as shown above;


The bubbles in the Vinamold was a cause for concern, as this means there was air escaping causing a suction effect, which later cause the finished mould to stick to the wood, making it impossible to remove without completely damaging the mould;

This meant it needed to be done again, but to correct the problem, the MDF needed to be sealed even more, to do this meant spraying them with paint primer;


After all of the letters were primed and dry, it was ready for another attempt, however this time using jelly to create a lubrication in-between the wood and the Vinamold;

After all of these preparations were complete, the above steps were repeated, melt, pour, wait... But one problem still remained, with no access to a car, getting 75KG worth of sand and cement proved a major issue, which further increased project times. Two rejections from taxi companies and a £30 quote for a man with a van later, the decision was made to simply risk calling an Uber and hoping that the driver is willing to help. This turned out to be the best option as the driver was more than willing, this essentially saved the whole project from failure;

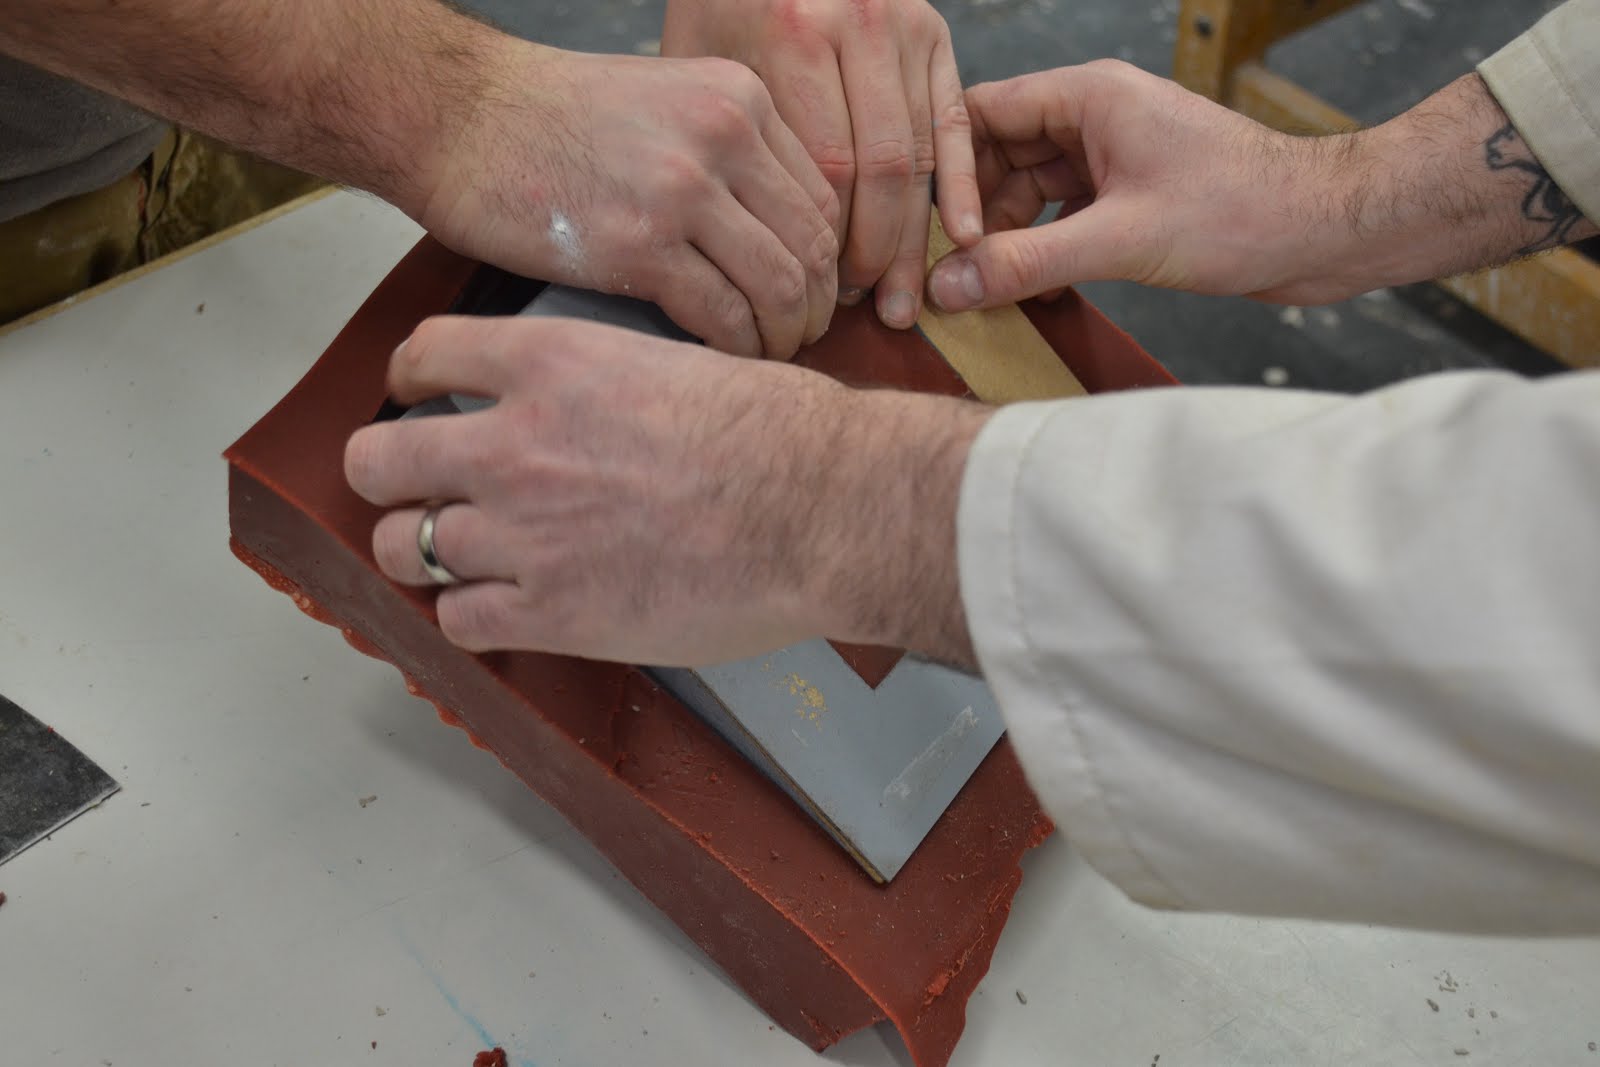
After the Vinamold was dry, it was then the moment of truth to see if the letters were going to stick to the mould again, which they didn't, so the primer and vaseline worked perfectly;


That's not to say removing them wasn't still a challenge, one even taking three pairs of hands to get free;
Three moulds complete ready for concrete;

Mixing 2 parts sand with 1 part cement created the perfect mixture for concrete, mixed with plasticiser which enables you to use less water, thus quickening drying times;


Safety first;

Once the mixture was to a smooth consistency, it could then be spooned into the moulds using a putty knife;


These were then covered with cellophane and left for 24 hours to partially set and then be removed from the moulding rubber;


Rinse and repeat... 10 times later the concrete was fully set waiting to be pictured in the photography studio (after at least 14 days to cure more proficiently, as you can see, the colour of the top row does not match those below it due to the lower row having been taken out of the moulds a few days before the ones not he top.);

Overall, this process was a huge learning curve, utilising many different techniques and processes not specific to graphic design really opened my eyes to how much time something of this calibre takes to complete.
The amount of problem soling and hurdles that had to be overcome along the way was quite stressful, however it has paid off and the final letters look exactly how I'd planned and imagined.
No comments :
Post a Comment